Add your virtual tour to your website
Embedding your virtual tour can increase your website visit durations by up to 5 minutes, helping driving sales and business enquiries! It’s free, very easy and takes under 5 minutes to do!
A step by step guide
STEP 1.
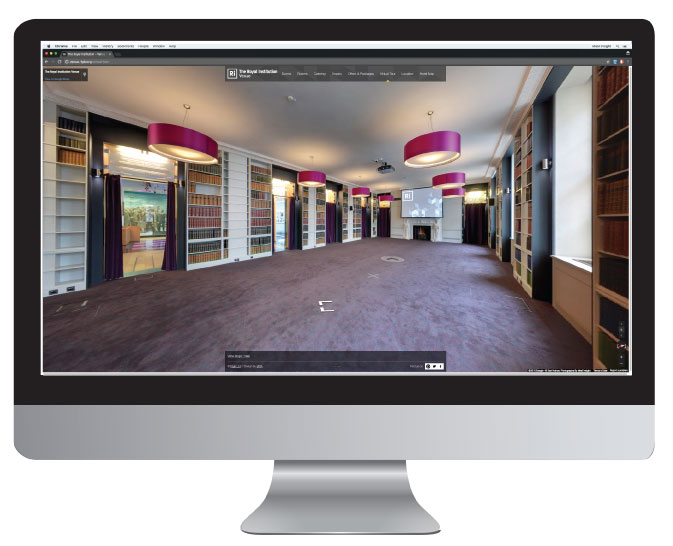
Access your virtual tour on Google Maps, navigate to the position and angle you would like your virtual tour to start from when embedded onto your website.
STEP 2.
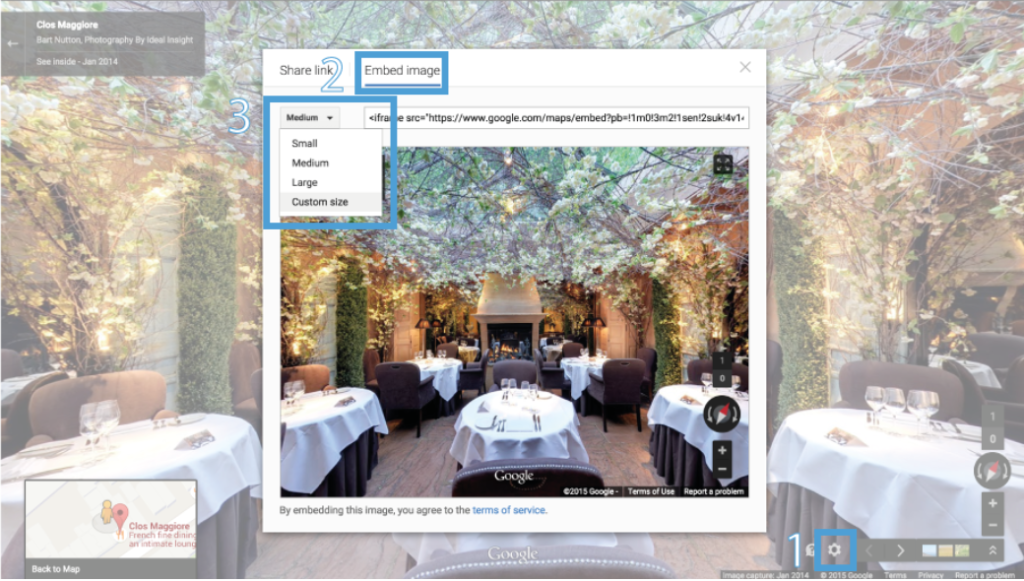
Click on the settings ‘cog’ icon positioned on the bottom right hand side of the virtual tour screen (as highlighted in Blue) and press ‘Share or embed image’.
A new box will open with two tabs, ‘Share link’ and ‘Embed Image’ – it is the ‘Embed Image’ code we will be using.
STEP 3.
You can customise the size/dimensions of the the virtual tour by clicking the small drop down menu (as highlighted in blue) and selecting ‘Custom size’.
The code will automatically adapt to include the new dimensions. You can select to make the dimension as tall or as wide as you like.
STEP 4.
Copy and paste the HTML text into your website.
STEP 5.
Go to your website and confirm the virtual tour appears exactly as you intend it to look!